

uPVC door handles are designed to be durable, but over time, they can become loose, stiff, or broken due to regular use, weather exposure, or internal wear. Fortunately, replacing a uPVC door handle is a straightforward DIY task that most homeowners can complete in under 30 minutes with basic tools. This step-by-step guide will walk you through the entire process, from identifying the correct handle to fitting and testing the new one.
Whether your handle has snapped, become difficult to operate, or you’re simply upgrading the look of your door, this guide will help you do the job safely and correctly.
Tools and Materials You’ll Need
Before starting, gather the following items:
· Phillips (cross-head) screwdriver
· Flat-head screwdriver (optional)
· Measuring tape or ruler
· Replacement uPVC door handle
· Allen key (for some handle types)
· Pencil or notepad
Optional but helpful:
· WD-40 or light lubricant
· Soft cloth
Understanding uPVC Door Handles
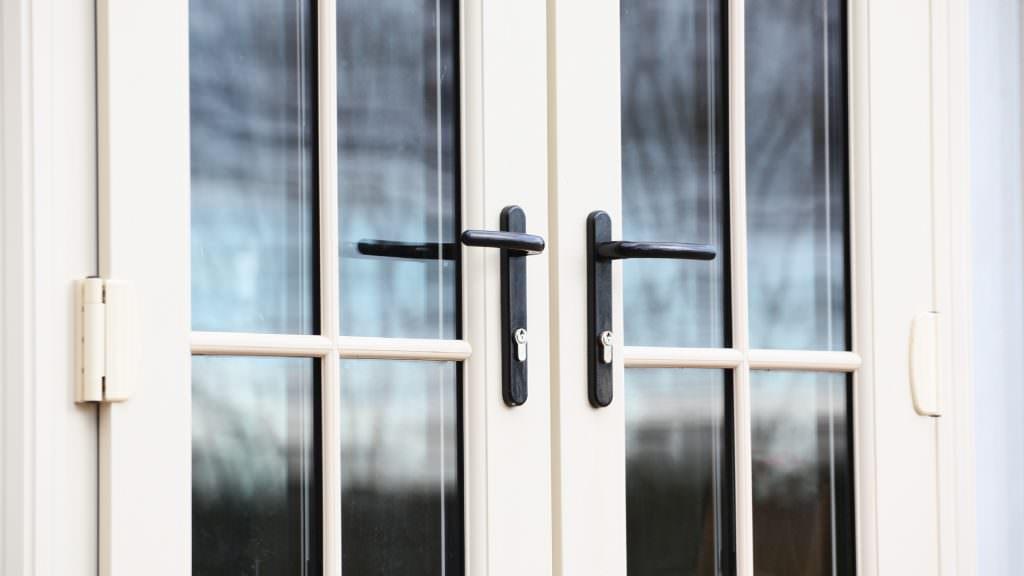
Most uPVC doors use a lever/lever handle set with a multipoint locking system. The handles are connected through the door by a spindle, a square metal bar that operates the locking mechanism. Two long screws pass through the inside handle and secure both handles together.
Common reasons for replacement include:
· Broken or snapped handle
· Loose or wobbly handle
· Stiff operation
· Cosmetic upgrades
· Faulty spring cassette
Replacing the handle does not usually require replacing the entire locking mechanism unless there is internal damage.
Step 1: Identify the Correct Replacement Handle
Before removing the old handle, it’s crucial to ensure you buy the correct replacement. uPVC handles are not universal, and measurements matter.
Key Measurements to Check
PZ Measurement (Centres)
This is the distance from the centre of the handle spindle to the centre of the keyhole. The most common size is 92mm, but others include 68mm and 72mm.
Screw Fixing Centres
Measure the distance between the top and bottom fixing screws (usually 215mm on modern uPVC doors).
Spindle Size
Most uPVC handles use a 7mm square spindle, but always confirm.
Handing
Some handles are universal, while others are left- or right-handed.
Tip: If unsure, remove the handle first and take it to a hardware store or compare it online.
Step 2: Open the Door Fully
Always perform this task with the door open. This prevents accidental lockouts and allows easier access to the screws. Make sure the door is stable and won’t move while you’re working.
Step 3: Remove the Existing Handle
Locate the two screws on the inside handle.
Use a Phillips screwdriver to loosen and remove them.
Hold the outer handle in place while removing the last screw to prevent it from falling.
Gently pull both handles away from the door.
If the handle feels stuck, wiggle it slightly while pulling. Avoid forcing it, as this could damage the door.
Step 4: Remove the Spindle
Once the handles are off, slide the spindle out of the door.
Check for signs of wear or bending.
If the new handle comes with a new spindle, use the replacement.
If reusing the old spindle, ensure it’s straight and undamaged.
Clean the area with a soft cloth and apply a small amount of lubricant if needed.
Step 5: Prepare the New Handle
Before fitting:
Check that the spindle length is correct
Ensure the handle orientation matches your door
Confirm the screws align with the existing holes
If the spindle is too long, some can be trimmed, but this should be done carefully with proper tools.
Step 6: Fit the New Handle
Insert the spindle through the lock mechanism.
Position the external handle first, aligning it with the spindle.
Place the internal handle on the opposite side.
Insert the fixing screws through the inside handle.
Tighten the screws evenly—do not overtighten.
The handle should feel secure but still operate smoothly.
Step 7: Test the Handle and Lock
With the door still open:
Lift and lower the handle several times
Turn the key to ensure the lock engages smoothly
Check that the latch and multipoint locks operate correctly
If the handle feels stiff:
Slightly loosen the screws
Check spindle alignment
Apply light lubricant to the mechanism
Once satisfied, close the door and test again.
Common Problems and Troubleshooting
Handle Is Still Loose
Screws may not be fully tightened
Screw holes may be worn (use slightly thicker screws if needed)
Handle Won’t Lift
Spindle may be misaligned
Lock mechanism may be faulty (not the handle)
Lock Feels Stiff
Lubricate the locking points
Ensure the door is aligned in the frame
If issues persist, the problem may lie with the multipoint lock rather than the handle.
Safety Tips and Best Practices
Never force the handle into place
Always support the outer handle when removing screws
Avoid overtightening screws to prevent cracking
Keep screws and small parts safely stored
When to Call a Professional
You should consider professional help if:
The door won’t lock even with a new handle
The locking mechanism feels jammed
The door is misaligned or dropped
Internal lock parts appear broken
In these cases, replacing just the handle may not solve the problem.
Conclusion
Replacing a uPVC door handle is a simple and cost-effective DIY task that can restore both the functionality and appearance of your door. With the right measurements, basic tools, and careful installation, most homeowners can complete the job in less than half an hour.
By following this step-by-step guide, you’ll avoid common mistakes, ensure a secure fit, and extend the life of your door hardware. Whether you’re fixing a broken handle or upgrading your home’s style, this small improvement can make a big difference.