

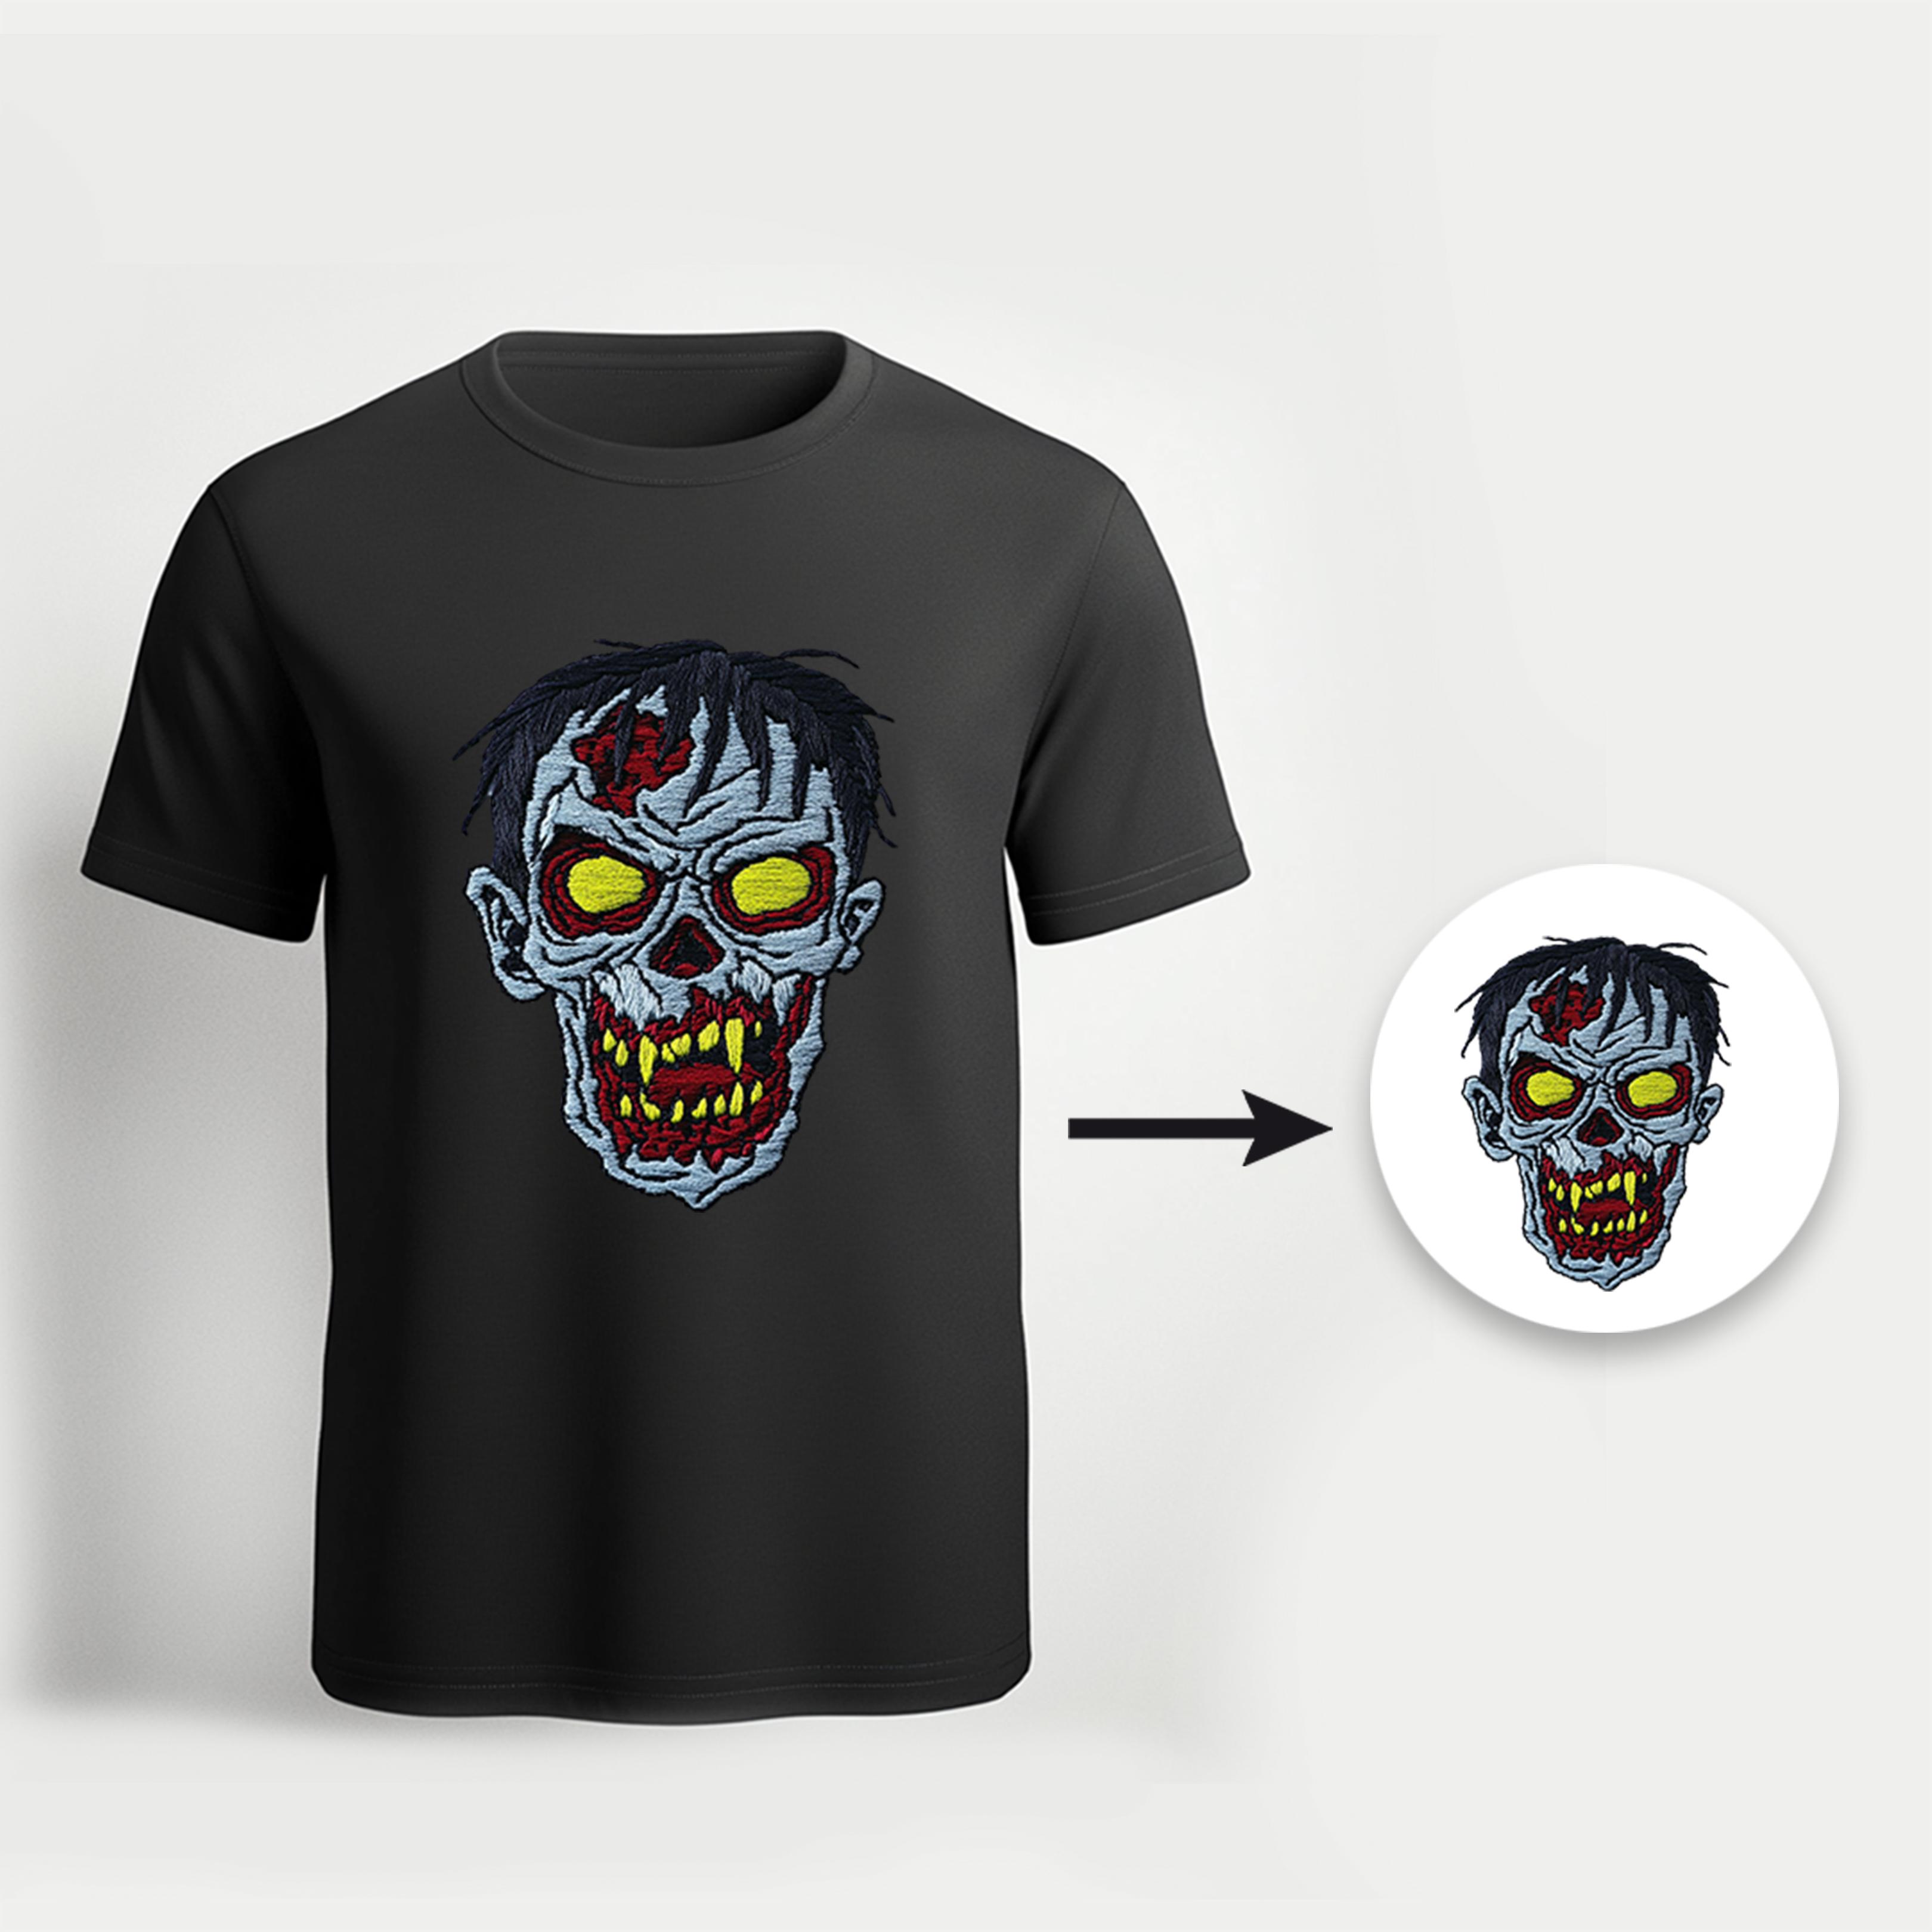
In today’s creative and fashion-driven world, embroidery has evolved from a traditional craft into a highly technical art form powered by digital innovation. One of the most crucial elements behind this transformation is digitization for embroidery — the process that turns your artwork or logo into a precise, stitch-ready design.
Whether you’re a business offering custom apparel or an individual exploring embroidery as a hobby, understanding digitization for embroidery is the key to achieving clean, professional results. In this blog, we’ll dive deep into what embroidery digitization is, how it works, and why it’s essential for creating perfect embroidered designs.
What Is Digitization for Embroidery?
At its core, digitization for embroidery is the process of converting a digital image — such as a logo, artwork, or text — into a file that an embroidery machine can understand. This file instructs the machine on how to stitch the design: where to start, which direction to move, what stitch types to use, and when to change colors.
Unlike simple printing, embroidery involves physical stitching on fabric, meaning every line and curve must be perfectly calculated. Digitization bridges that gap between digital art and real-world embroidery, ensuring that the final design looks just as intended — or even better.
How the Process of Digitization for Embroidery Works
Embroidery digitization may sound simple, but it’s a detailed and technical process. Let’s break it down step by step:
-
Receiving the Artwork
The process begins when a client provides a logo, design, or graphic (in PNG, JPG, or vector format). The clearer and higher the image quality, the better the digitized outcome. -
Analyzing the Design
The digitizer examines the artwork to determine stitch types, directions, and densities. Factors like fabric type, design size, and complexity all affect how the design will be digitized. -
Creating a Stitch Map
Using professional software such as Wilcom, Pulse, or Hatch, the digitizer manually plots stitches to recreate the design. Every part — from small details to large areas — is assigned specific stitch types like satin, fill, or running stitches. -
Setting Colors and Sequence
Thread colors are mapped out, and the stitching sequence is optimized to reduce thread breaks and minimize machine stops. -
Test Run (Sampling)
Before final delivery, a sample is embroidered on the target fabric to check quality, alignment, and density. Adjustments are made to perfect the design. -
Final Output
The finished file is exported in machine-readable formats such as DST, PES, EXP, or JEF. Once ready, it can be used to produce consistent embroidery across any number of items.
Why Digitization for Embroidery Is Important
The digitization process is the foundation of professional embroidery. Without proper digitizing, even the best machines and materials can produce poor results. Here’s why it matters so much:
-
Accuracy: Digitization ensures that every stitch lands exactly where it should, maintaining the integrity of the original design.
-
Efficiency: A well-digitized file reduces machine time and thread wastage.
-
Consistency: Whether you’re embroidering one shirt or a thousand, each piece looks identical.
-
Durability: Correct stitch density and direction ensure the embroidery lasts longer and looks smoother.
Simply put, digitization transforms creativity into precision.
The Role of a Professional Digitizer
While software plays a major role in digitization, the skill of the digitizer determines the quality of the final product. A professional digitizer understands both design aesthetics and technical machine behavior. They know how stitches interact with different fabrics, how thread tension affects design clarity, and how to minimize distortion.
For instance, a design that looks great on a t-shirt might not work the same way on a cap or jacket. A skilled digitizer adapts the file for each material, ensuring perfect results every time.
Common Stitch Types Used in Digitization for Embroidery
To understand the magic of embroidery digitizing, let’s look at the main stitch types that bring designs to life:
-
Satin Stitch:
Used for borders, lettering, and outlines, satin stitches create a smooth, glossy look. -
Fill Stitch (Tatami):
Ideal for large areas of color, fill stitches provide texture and coverage. -
Running Stitch:
Used for fine details, outlines, and shading effects. -
3D Puff Stitch:
Commonly used in hat embroidery, this technique adds raised effects for bold, textured designs.
The right combination of these stitches defines how professional and durable your embroidery looks.
Challenges in Digitization for Embroidery
Digitizing is a blend of art and science — and like any skill, it comes with challenges. Some common issues include:
-
Distortion on Stretchable Fabrics: Stitch density must be adjusted based on material flexibility.
-
Small Text Issues: Tiny letters often need modification to remain legible when stitched.
-
Color Blending: Thread colors don’t mix like inks, so gradients require creative stitching techniques.
-
Design Scaling: Enlarging or shrinking a digitized file can affect stitch quality unless re-digitized.
Overcoming these challenges requires experience, precision, and an eye for detail — which is why professional digitization is always worth the investment.
Benefits of High-Quality Embroidery Digitization
When done right, digitization enhances every aspect of your embroidery production. Some of the biggest benefits include:
-
Flawless Stitching: Smooth lines, balanced density, and even coverage.
-
Faster Production: Optimized stitch paths reduce time and thread consumption.
-
Reduced Errors: Less thread breakage and fewer machine stops.
-
Versatility: Works seamlessly across different fabrics and garment types.
-
Brand Consistency: Perfect replication of logos and branding elements across all apparel.
Good digitization not only improves visual quality but also boosts productivity and customer satisfaction.
Choosing the Right Partner for Digitization for Embroidery
If you want professional results, choosing the right digitizing service is key. Here’s what to look for in a reliable provider:
-
Experience and Portfolio:
Check previous work samples to gauge their expertise in different embroidery types (hats, shirts, jackets, etc.). -
Software Proficiency:
The best digitizers use premium software like Wilcom or Tajima DG. -
Fast Turnaround:
For businesses, time is money — opt for services offering 12–24 hour delivery. -
Customer Support and Revisions:
A good provider offers free edits until you’re fully satisfied. -
Affordable Pricing:
Quality doesn’t have to break the bank. Look for providers that balance cost and craftsmanship.
Partnering with professionals who specialize in digitization for embroidery ensures your designs are handled with precision and care.
Applications of Embroidery Digitization
Digitized embroidery designs are used across countless industries, from fashion to corporate branding. Common applications include:
-
Company Uniforms: Logos embroidered on shirts, jackets, and hats.
-
Sports Apparel: Team emblems and player names.
-
Fashion Brands: Custom patterns, monograms, and creative art embroidery.
-
Promotional Items: Embroidered giveaways like caps and tote bags.
-
Personal Projects: Custom gifts, hobby stitching, and home décor.
Wherever fabric meets creativity, digitization for embroidery plays a central role.
Tips for Getting the Best Embroidery Results
If you’re planning to digitize a new design, keep these pro tips in mind:
-
Provide High-Resolution Artwork: The cleaner the design, the better the digitized result.
-
Communicate Fabric Type: Each fabric needs different stitch densities and underlays.
-
Avoid Tiny Text: Small fonts may not stitch clearly.
-
Request a Sample: Always test the digitized file before bulk production.
-
Keep It Simple: Clean, bold designs often yield the best embroidery results.
Conclusion
Digitization for embroidery is more than a technical process — it’s the foundation of quality craftsmanship. It’s where creativity meets precision, transforming a simple image into a work of art stitched thread by thread.
Whether you’re a business looking to enhance your brand image or an individual creating personalized apparel, professional digitization for embroidery ensures your designs look flawless, durable, and vibrant.
Investing in high-quality digitization saves time, reduces production errors, and guarantees that your embroidery stands out with every stitch. In short, if you want your embroidery to look professional — start with perfect digitization.